She Thought, Y Not?
Albert Einstein once said, “ I have no special talents, I am only passionately curious.” A blog for the curious creators, lovers, diyers, cooks, beauty junkies, and the young at heart.
Mod Podge a Dresser. A.K.A. make a ‘boyfriend nook’ :)
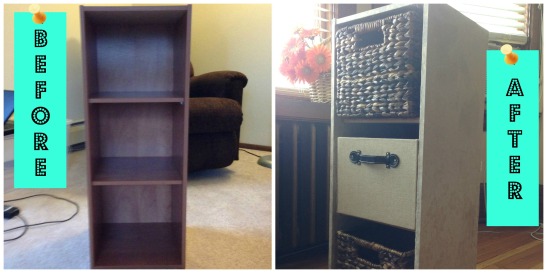
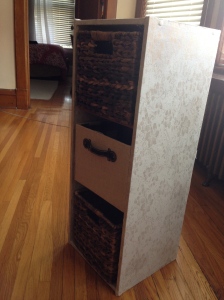
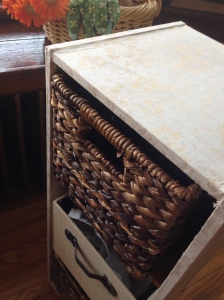
My BF and I wanted to have ‘overnight nooks’ at each others places – exciting! He saved the bottom 2 drawers of his dresser for me, but I had nothing at all for him at my place! My room is SUPER small, so I don’t even have a dresser. Luckily, I found this cheap ‘vertical organizer’ from target (but in a light wood color). The wood color looked terrible in my room, so we went to Joann Fabrics to find something suitable to cover it with. We are both happy with the finished product and it looks great in my room!
Supplies
- Dresser/storage unit
- Fabric – at least a few yards
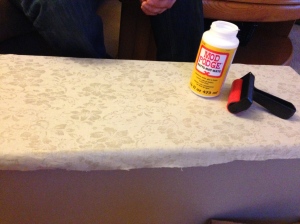
- Mod Podge
- Brush for Mod Podge. I LOVE this one
- Scissors
- A Brayer and Squeegee (optional)
- Push-pins
How-To
1. Take out shelving units and pegs that may be placed inside of organizer. Take note of where the shelves were placed (the pegs).
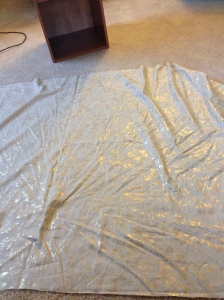
2. Measure and cut fabric the best you can. I cut it to the width of the vertical organizer and then, starting at the bottom of one side, wrapped it over the top and all the way down to the bottom of the other side. Cut, leaving some extra fabric that can be wrapped under. Make two of these sized fabric pieces (one will be used for the inside of the organizer).
3. Flip organizer on its side and apply a thinish layer of mod podge all over half of that side, so half of the way up.
4. Carefully begin to lay fabric over the mod podged areas, smoothing as you go.
5. Mod podge the remainder of that side, up to the top of the organizer and repeat step 4.
6. You can use your Brayer at this point to smooth everything down.
7. Flip the organizer right-side-up. Mod podge the top and lay fabric over it, smoothing as you go.
8. Now flip the organizer onto its other side and repeat steps 3-6.
Both sides and the top should now be covered in fabric.
9. Take the second piece of fabric that you measured and repeat steps 3-8 on the inside of the organizer. You can tip and turn it however makes it the easiest. * you may have to do some overlapping of fabric. I found that in a few instances I had to pull off previously mod podged areas to place new fabric underneath and then the other fabric back over it. Use your best judgement
Let dry at least one hour
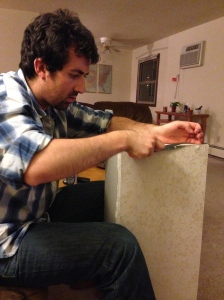
10. Cut and trim any extra fabric.
11. Apply a thin layer of mod podge over all of the fabric. Let dry and repeat if necessary.
The back will not be covered in fabric, but that will be against the wall anyway.
12. Make sure everything is dry. Take one push-pin and lightly drag it down the inside of the shelf, trying to find the holes where the pegs for the shelves will go.
13. Once you find the hole you want, at the level you like, place the push pin there. Do the same for the holes directly across from it on both sides, as the shelf will need to rest on 4 pegs.
14. Do this for as many shelves as you have. (I had 2, so I used 8 push pins)
15. Remove push-pins one at a time, replacing with the pegs. You will have to wiggle it around a bit to get the fabric to stretch.
16. Once the push-pins are in, slide the shelves in.
17. Place in any baskets you want. You’re Done!!

Do you want to copy articles from other sources rewrite them in seconds and post
on your site or use for contextual backlinks? You can save a lot of writing work, just type in google:
rheumale’s rewriter